Updating Capture Engine ACL settings
The Access Control List (ACL) limits access to a Capture Engine by associating Users (defined in the operating system) with classes of tasks on the Capture Engine, called Policies. These associations are set in the configuration of each Capture Engine.
The Capture Engine Manager also lets you add the same Domain username and Policy associations to the ACLs of multiple Capture Engines, all of which are operating under the same Domain control.
NOTE: To use the ACL with Omnipliance Linux, you must first add the user to the Linux OS and then add the same user to the first ACL policy, “System: Allow usage.” You can then limit that user’s permission by adding the user to any of the other ACL policies.
IMPORTANT: The Capture Engine Manager must be able to log in to each target Capture Engine as a user with the correct permissions to update the ACL on that Capture Engine, as described above. For detailed login information, see Credentials dialog.
NOTE: To use the Capture Engine ACL Update Wizard, you must present the correct login credentials for each target machine. For a Capture Engine with Use access control enabled, any user associated with both the System: Allow usage and Configuration: Configure engine settings policies can configure the Capture Engine. Any user with Administrator privileges (local or Domain) on the target machine can configure the Capture Engine, regardless of any settings in its ACL.
To distribute an ACL update to one or more Capture Engines in a single domain:
1. Click in the toolbar. The Capture Engine ACL Update Wizard appears.
2. Click . The Select engines view appears and lists the Capture Engines defined in the Workspace.
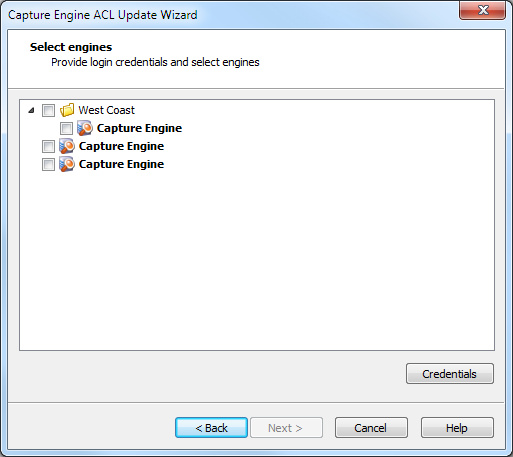
3. Select the check box of the Capture Engines you are updating. You can right-click inside the view to expand all / collapse all lists, or check all / uncheck all Capture Engines.
NOTE: You can click to enter the login credentials that can be used to connect to one or more Capture Engines when distributing software updates or new settings. See Credentials dialog.
4. Click to open the Edit Access Control view. From this view, you can associate any User defined for the current Domain with any Policy defined for the selected Capture Engines.
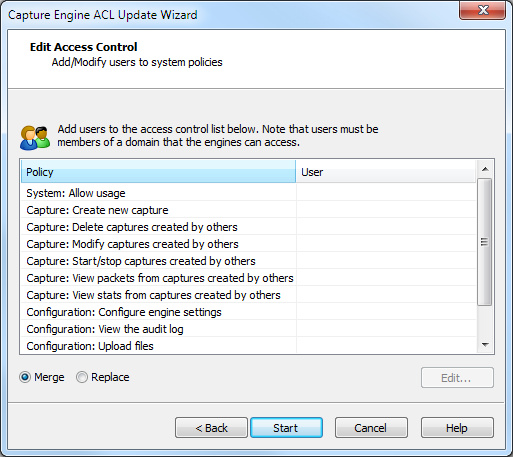
5. Select a Policy in the list and click . The Add Users to ACL dialog appears.
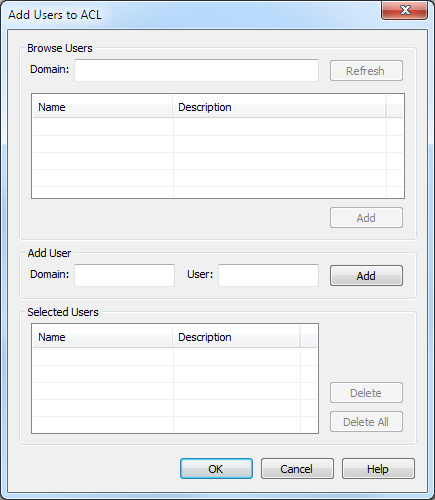
Browse Users
• Domain (Capture Engine (Windows) only): Type the Domain for the Capture Engine. If the Capture Engine is not a member of any Domain, leave this field blank.
• Refresh: Click to poll the Domain controller to retrieve the list of users.
NOTE: Large Domains with hundreds of users may take several minutes to load.
• Name/Description: Displays the name and description for each defined user. Both the name and the description are taken from the operating system security settings (local or Domain).
• Add: Click to add the selected user to the Selected Users table.
Add User (Capture Engine (Windows) only)
• Domain: Type the Domain for the Capture Engine.
• User: Type the name of the User you wish to add to the Selected Users table.
• Add: Click to add the selected user to the Selected Users table.
Selected Users
• Name/Description: Displays the name and description of users allowed to perform the selected policy.
• Delete: Click to remove the selected user from the Selected Users table.
• Delete all: Click to remove all users from the Selected Users table.
TIP: A Policy that has no users associated with it is effectively reserved for users with Administrator or root level privileges.
6. Enter the name of the Domain and click . The dialog will poll the Domain controller to retrieve a list of users.
7. Select a user you want to associate with the current Policy and click . The user will appear in the Selected Users table of the dialog. Repeat this step until you have added all the users you wish to associate with the current Policy.
8. Click to close the dialog and return to the Edit Access Control view. The users from the Selected Users table appear in the Users column beside the appropriate Policy. You can choose to Merge users to the existing Access Control List, or Replace the existing Access Control List with a new list defined here.
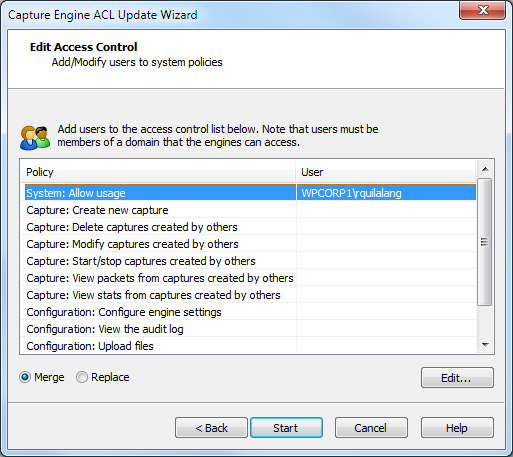
9. Continue in this manner until you have fully defined the ACL.
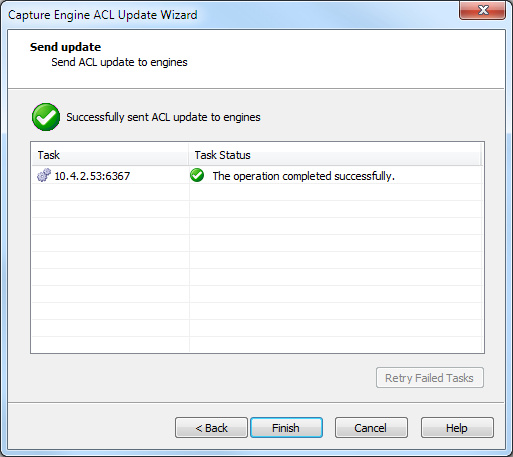
10. Click to begin distributing the ACL to the listed Capture Engines. The Send update dialog appears and displays the task status.
TIP: If at least one task fails, you can click to send the update again to the Capture Engines that did not complete the task successfully.
NOTE: In order to be able to retrieve the list of Domain users, you must be logged on as a user with Administrator privileges (local or Domain). Additionally, you must have logged on to a computer under the Domain control of the target Domain during the current session of Windows. Your Domain login can have been as a Domain user of any kind, Administrator or otherwise.
11. Click to close the Capture Engine Update ACL Wizard.